Supply and Demand Trading for Deriv: How to Draw Zones and Trade Them Carefully
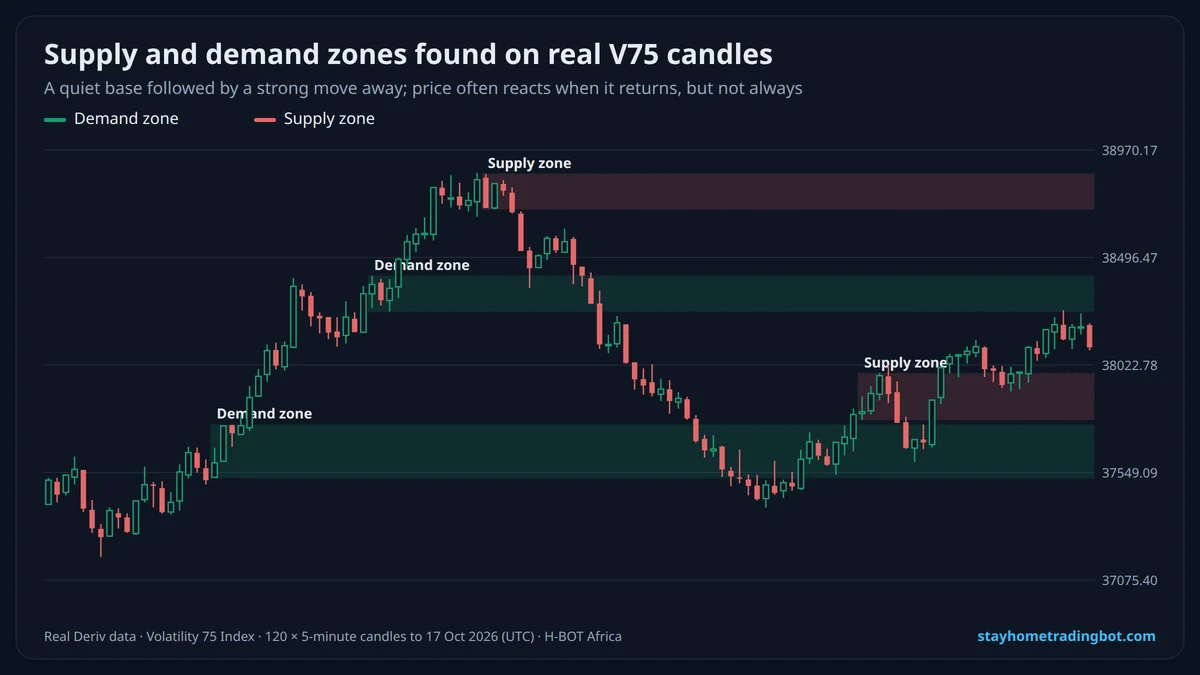
How to Draw a Zone Step by Step
- Find a strong move: several big candles in one direction.
- Look just before it for the base: one to three small candles.
- Draw a box from the base’s lowest low to its highest high (or body), extended to the right.
- Rally from the base = demand zone; drop from the base = supply zone.
- Prefer fresh zones that price has not returned to yet.
Supply and Demand vs Support and Resistance
| Supply / demand | Support / resistance | |
|---|---|---|
| Drawn from | The base before a strong move | Repeated turning points |
| Shape | A zone (box) | Usually a line |
| Strength | Fresh zones count most | More touches = more watched |
See support and resistance for the line-based method.
A Careful Zone Plan
- Trade zones in the direction of the bigger trend.
- Wait for price to reach the zone and show a reaction candle (for example a hammer at demand).
- Stop just beyond the far side of the zone, plus a little room (see {L("atr-indicator-deriv", "ATR")}).
- Target the next opposite zone or 2× the risk.
- Skip zones that price has already tested several times.
Try It Free on a $10,000 Demo
Open a free Deriv account, connect it to H-BOT Africa and test bots, signals and digit tools on virtual money before risking a shilling.
Open a free Deriv account Open Deriv Bot Open H-BOT Ask on WhatsApp
Have an audience? Become a Deriv partner and earn commission on clients you refer.
Disclosure: some links on this page are Deriv partner links. If you open an account or become a partner through them, H-BOT Africa may earn a commission at no extra cost to you.
Frequently Asked Questions
What is a demand zone?
The base area just before price rallied strongly, where buyers were active.
What is a supply zone?
The base area just before price dropped strongly, where sellers were active.
How do I draw supply and demand zones?
Find a strong move, mark the small candles just before it, and box their range.
Is supply and demand better than support and resistance?
They are related; zones mark areas, S/R marks repeated turning lines. Neither predicts the future.
Does supply and demand work on synthetic indices?
It helps structure trades, but random prices break zones often, so stops are essential.
What timeframe is best for zones?
Higher timeframes (5-minute and above) give cleaner zones than 1-minute charts.
Related Guides
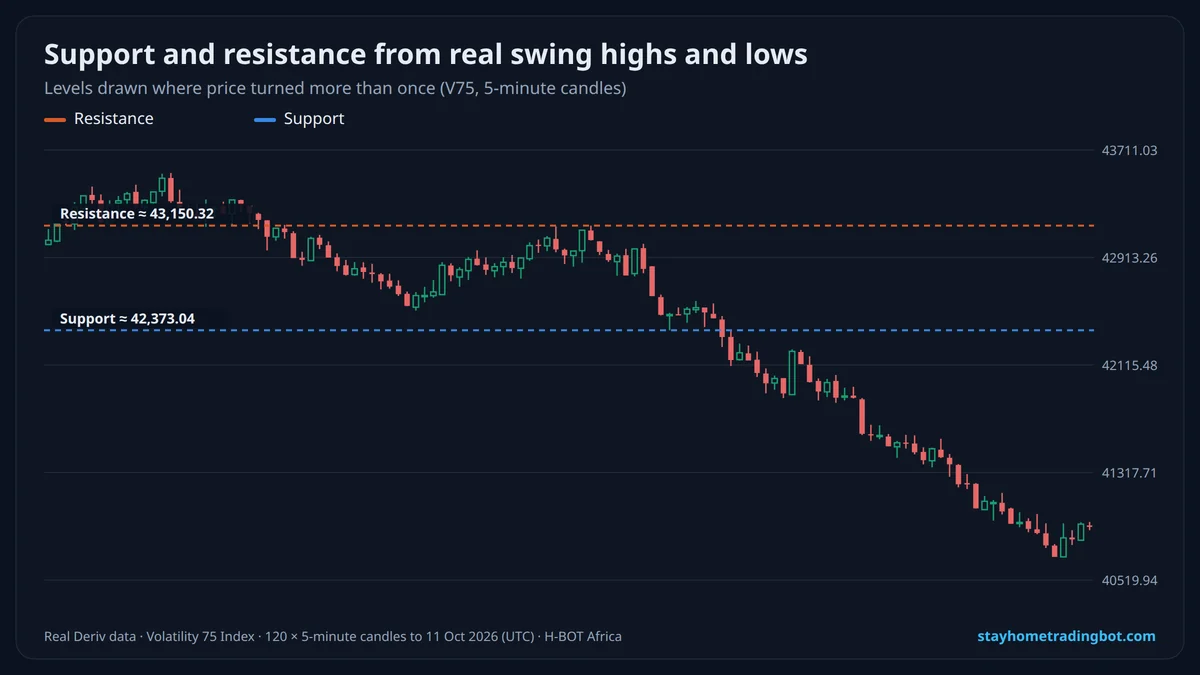 Support and Resistance on Deriv: How to Draw Levels and Trade Them Safely
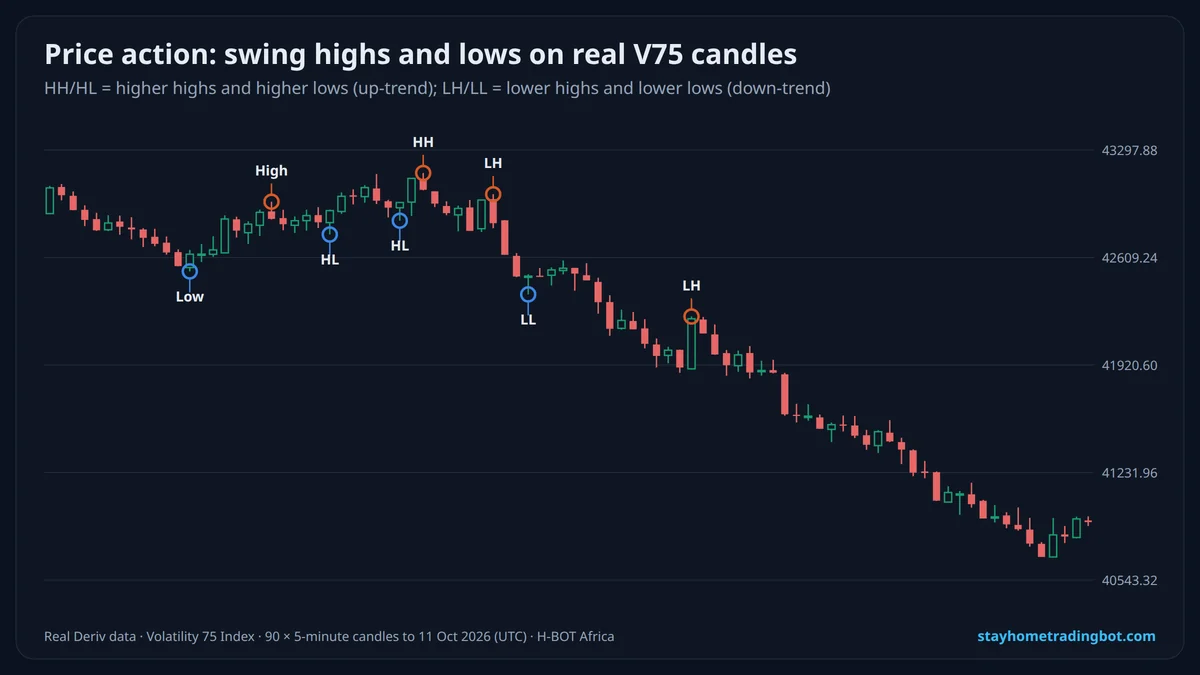 Price Action Trading for Deriv: Reading Swings, Trends and Candles Without Indicators
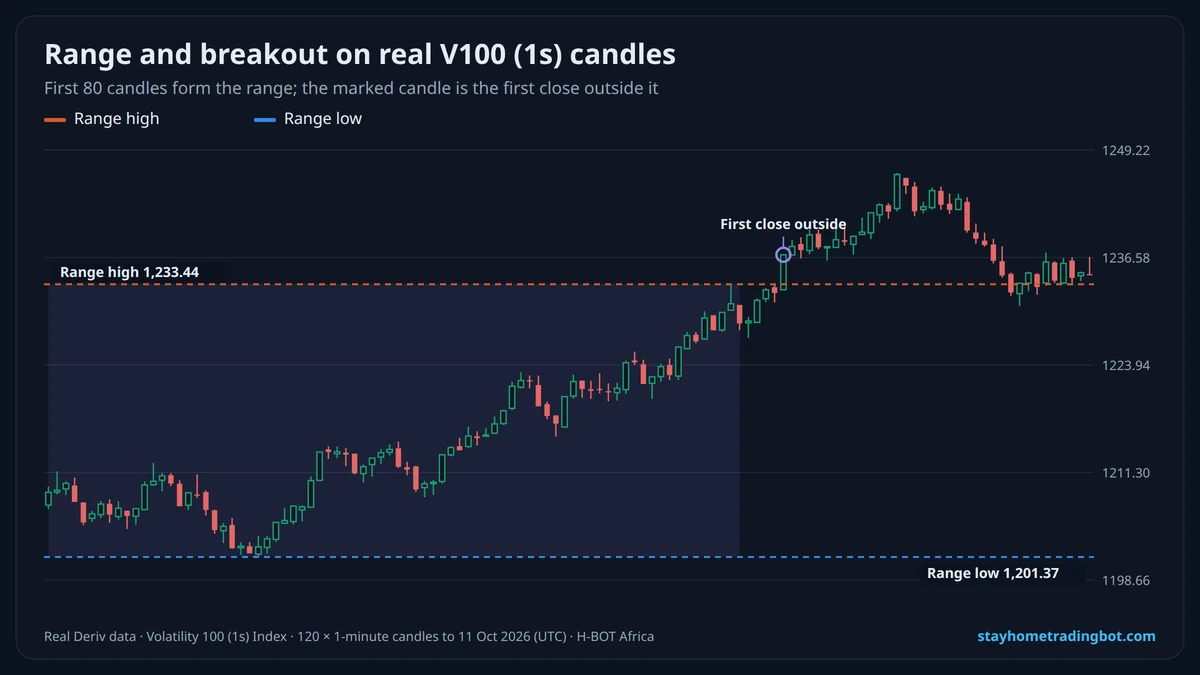 Breakout Strategy for Deriv: Trading Ranges, Trend Lines and Avoiding False Breakouts
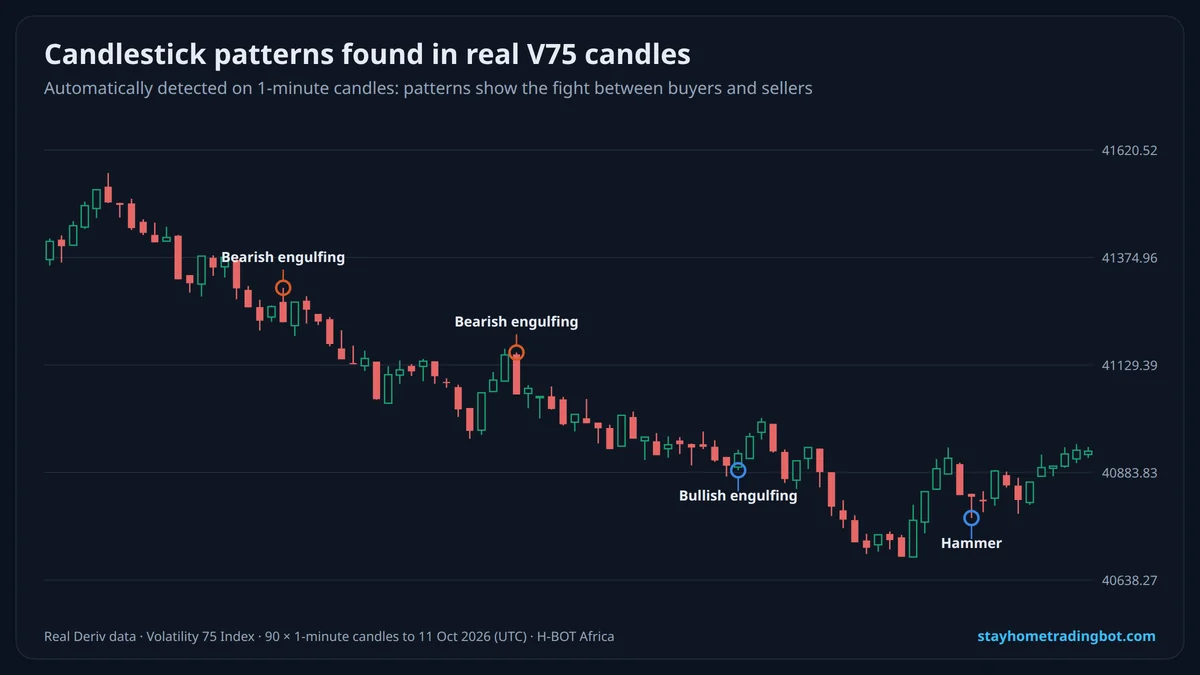 Candlestick Patterns for Deriv Traders: Doji, Hammer, Engulfing and How to Use Them